How To Mulch Roses For Winter Protection In 2024? Easy Guide
Cold weather doesn’t have to be the end for your roses. By applying the right mulch, you can keep them healthy and ready to bloom in the spring.
Nov 06, 202414.5K Shares204.6K Views

Preparing roses for winter requires more than just a little pruning and watering. To truly protect your roses from frost, cold winds, and temperature fluctuations, mulching is a crucial step. This guide will cover how to properly mulch roses to shield them during winter, ensuring they emerge healthy and ready to bloom in spring. You’ll also learn how to adjust mulching based on your region, the best materials to use, and even some DIY tips for creating your own mulch.
Why Mulching Roses In Winter Is Important
Preventing Frost Damage
Winter weather can be harsh on roses, particularly the root systems. Mulching helps insulate the soil, keeping it from freezing and thawing repeatedly during the season. This consistent soil temperature prevents root damage, ensuring the roses remain strong beneath the surface.
Understanding the different types of rosescan help you choose the best varieties for your garden, as some types are more cold-hardy and resilient in harsher climates, while others may need extra protection.
Maintaining Soil Moisture
Even in colder months, soil moisture is crucial for roses. Mulching helps retain moisture by reducing evaporation from cold winds and sun exposure. This moisture retentionprevents the roots from drying out, which could otherwise weaken the plant.
Reducing Soil Erosion
Winter rains and snowmelt can cause soil erosion, especially in exposed areas around rose bushes. A thick layer of mulch provides a protective barrier that helps keep the soil in place, reducing erosion and safeguarding the roots.
Suppressing Weeds
Though weeds grow slower in winter, some persistent varieties can still compete with your roses for nutrients. Mulch acts as a natural weed suppressant, preventing unwanted plants from taking over your rose beds.
Best Materials To Use For Mulching Roses In Winter
Choosing the right material is essential for successful winter mulching. There are several organic and inorganic options, each with its benefits.
Organic Mulch Options
- Straw: Straw creates excellent insulation by trapping air within its structure, helping to maintain a consistent soil temperature. It also breaks down slowly, adding organic matter to the soil.
- Shredded Leaves: Easily accessible in fall, shredded leaves make for great mulch, offering insulation and adding nutrients to the soil as they decompose. Avoid using whole leaves, as they can mat down and block air circulation.
- Pine Needles: Pine needles allow for good drainage and insulation without compacting, plus they slightly acidify the soil, which some roses prefer.
- Compost: Compost enriches the soil while providing insulation. As it breaks down, it adds valuable nutrients that roses need for healthy spring growth.
Inorganic Mulch Options
- Gravel or Pebbles: Gravel doesn’t decompose, making it a good long-term option for improving drainage. While not as insulating as organic mulches, it still offers some protection from temperature fluctuations.
- Landscape Fabric: When paired with an organic material, landscape fabric helps block weeds and offers an extra layer of protection without restricting airflow to the soil.
Step-by-Step Guide To Mulching Roses For Winter
Timing Is Crucial
The timing of mulching is key to success. Start mulching after the first hard frost, but before the ground freezes. This will trap in the cold air needed to prevent the soil from warming too much during midwinter thaws.
Preparing The Roses For Mulching
Before mulching, prune any damaged or dead branches. Removing debris from around the base of the plant will reduce the risk of diseases and pests overwintering in the mulch. Clean up fallen leaves and petals to keep the area tidy.
Applying The Mulch Properly
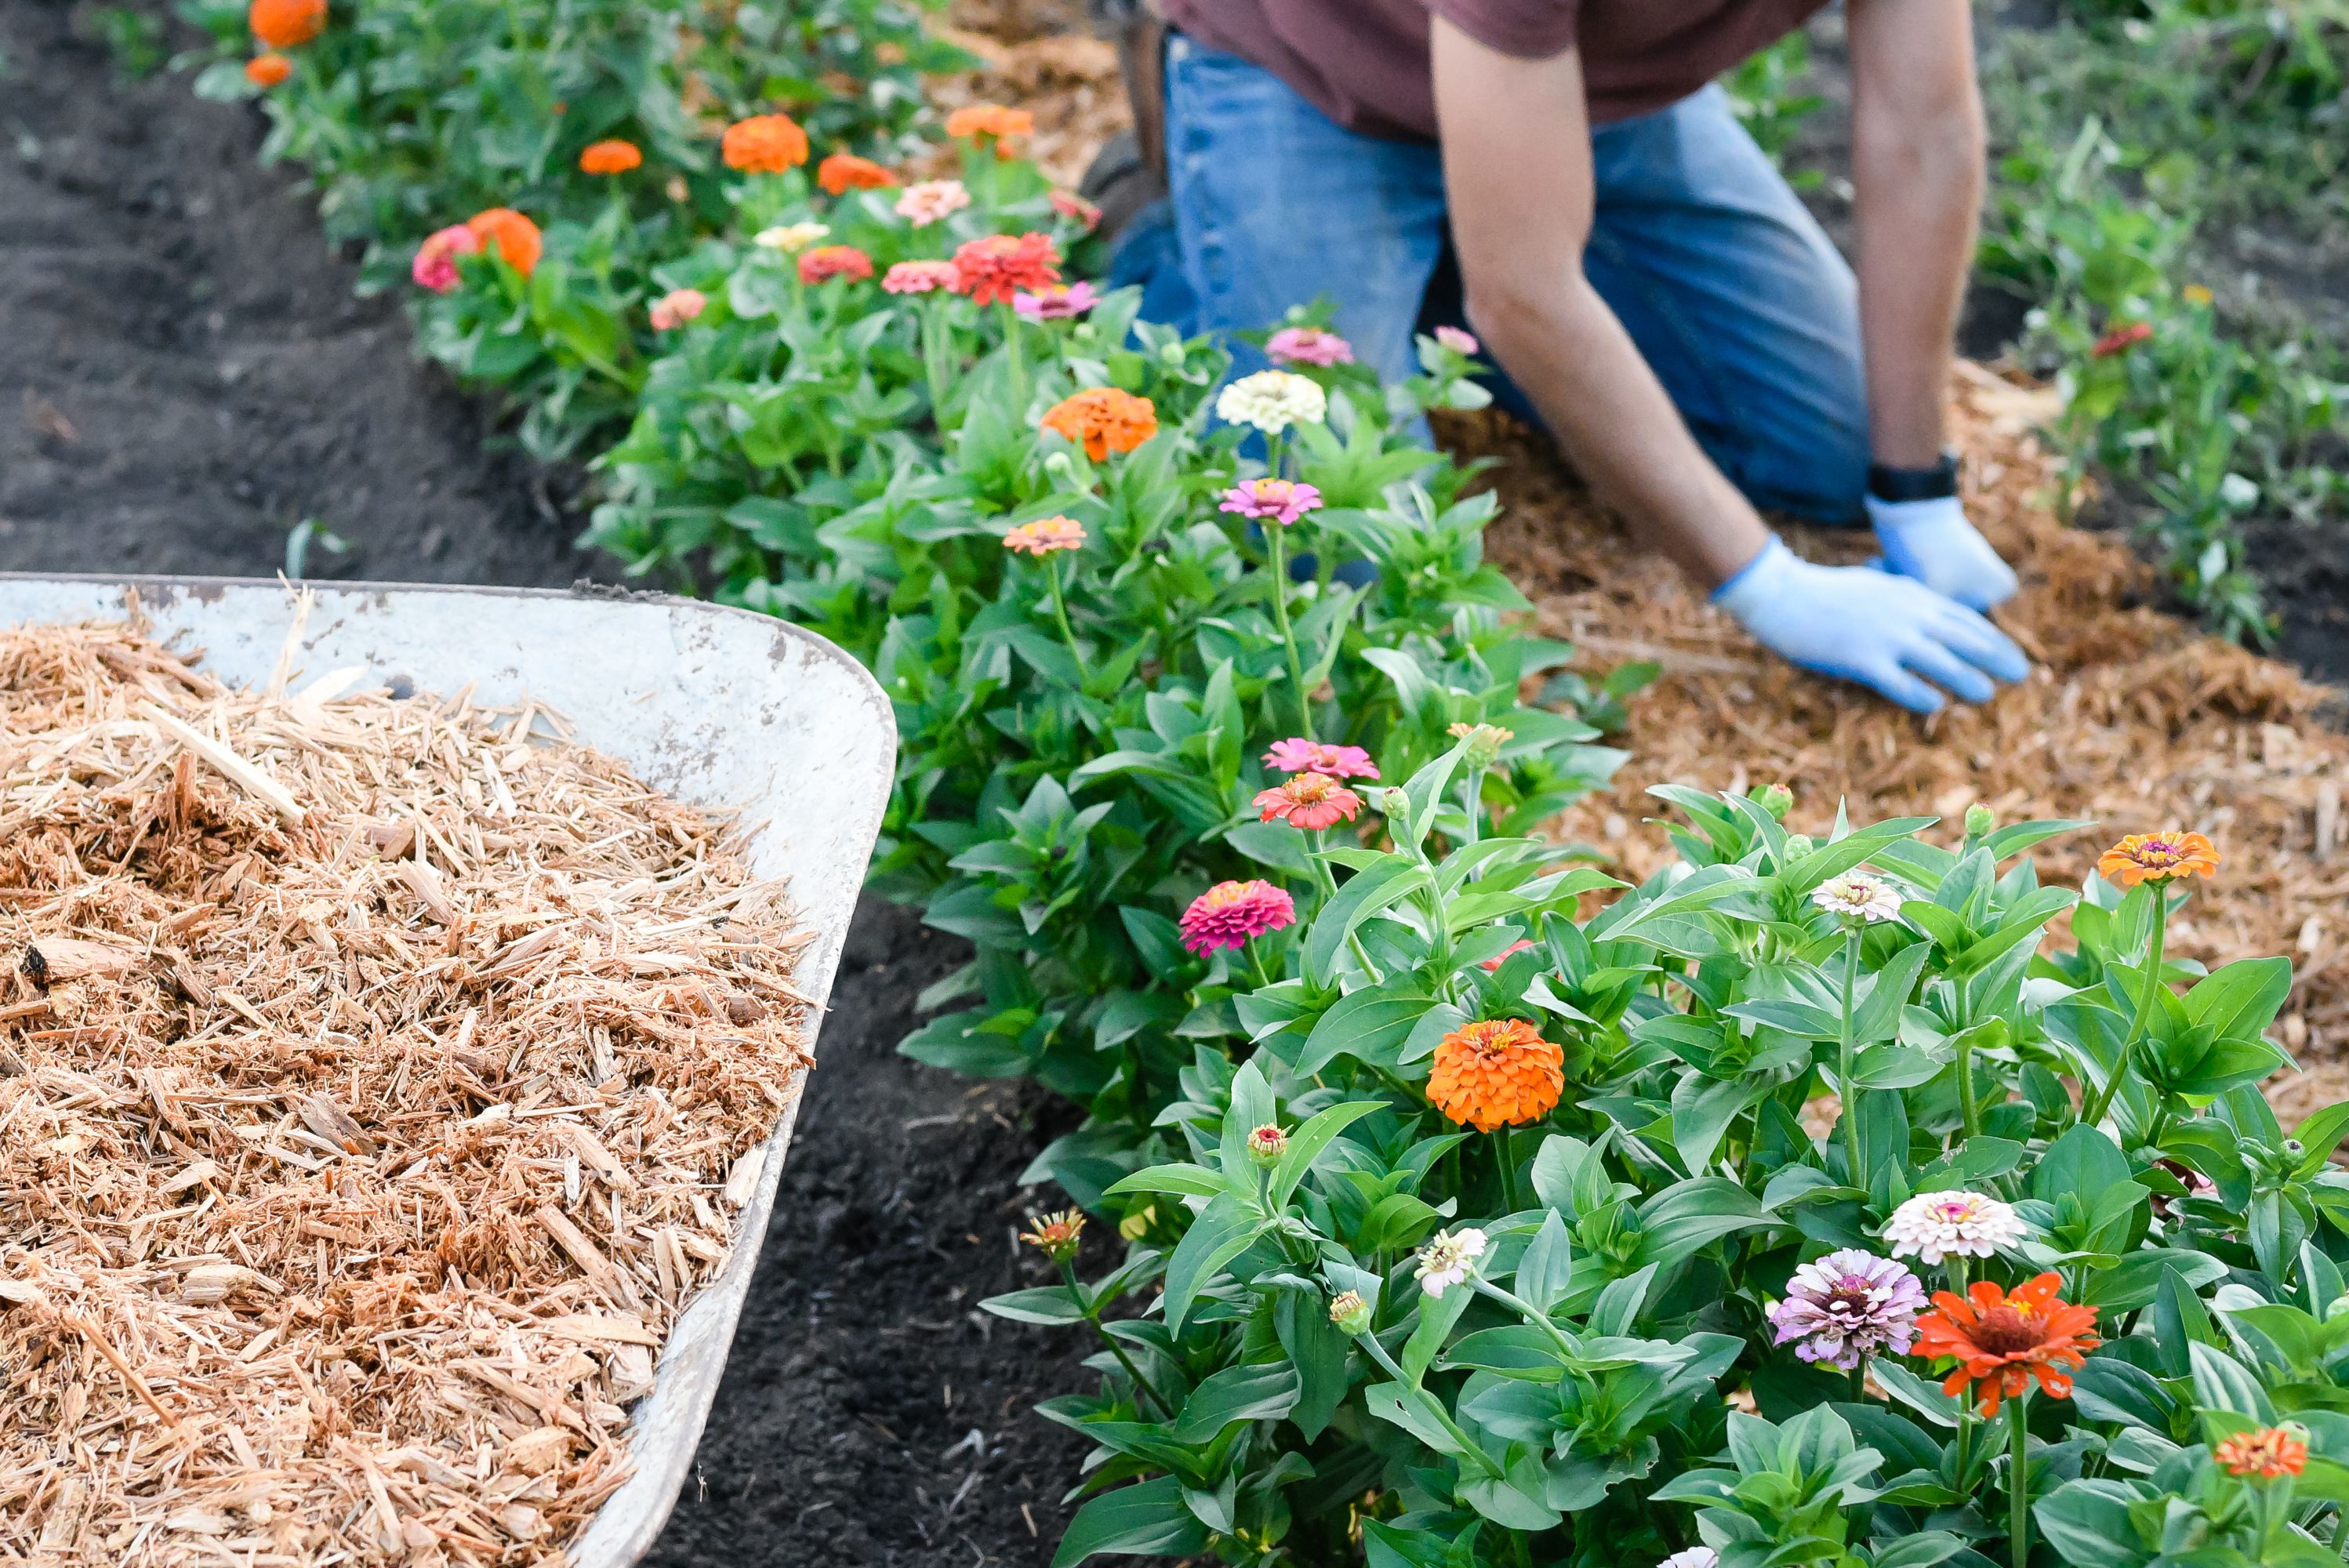
- Step 1: Apply a 2-4 inch layer of mulch around the base of the rose, keeping it a few inches away from the stems to avoid rot.
- Step 2: In colder climates, mound the mulch 6-12 inches high around the base of the plant. This helps protect the crown and lower stems from frost damage.
- Step 3: Throughout winter, check the mulch to ensure it hasn’t blown away or compacted. Add more mulch as needed to maintain proper coverage.
Common Mulching Mistakes To Avoid
Mulching Too Early
Mulching too soon, before the first frost, can cause the soil to stay too warm, encouraging fungal growth or root rot. Always wait until the ground starts to cool down.
Over-Mulching
Too much mulch can suffocate roots by blocking airflow, leading to water retention and rot. Stick to the recommended 2-4 inches around the base and avoid piling too much directly against the stems.
Using Inappropriate Materials
Avoid materials like fresh grass clippings, which generate heat as they decompose, potentially damaging the plant. Also, avoid heavy mulches like whole leaves that can block air and water flow to the soil.
How To Adjust Mulching Based On Region
Colder Climates
For regions with freezing temperatures and heavy snowfall, apply a thicker layer of mulch 6-12 inches high around the base of the plant. Mounding the mulch higher can provide added insulation.
Milder Climates
In areas with milder winters, roses don’t need as much insulation. A lighter layer of 2-3 inches will be sufficient, ensuring the roots stay protected without overheating during midwinter warm spells.
DIY Mulch - How To Create Your Own Organic Mulch
If you have a lot of leaves, grass clippings, or kitchen scraps, you can create your own mulch using a compost pile. Shredded leaves mixed with compost make for an excellent winter mulch that both protects and enriches the soil.
Compost piles are easy to maintain, and creating your own mulch reduces waste, making your garden more sustainable. Knowing the best time to plant rosescan also help ensure they thrive, as timing impacts how well the plants establish themselves before facing winter conditions.
How To Remove Winter Mulch In Spring
Gradual Removal
As the weather begins to warm up, gradually remove the winter mulch to prevent shocking the plants. Start by pulling the mulch away from the base of the plant in early spring. Continue to remove it slowly as the threat of frost diminishes.
Reusing Mulch
Don’t waste your organic mulch! If it’s still in good condition, consider reusing it in other parts of the garden or composting it for future use. Mulch that has started breaking down can also be mixed into the soil to add nutrients.
Simple Fall And Winter Care For Your Roses
If you want to fertilize your roses in late summer (August or September), use a low-nitrogen fertilizer like a 2-4-1 mix to avoid encouraging new growth that could be damaged by frost. Foliar sprays, such as Monty's Joy Juice™ or Neptune's Harvest™, can give your roses a boost late in the season.
In mid-September, stop deadheading to let the buds form hips, which help protect the plant and provide food for wildlife. Also, clean up fallen leaves to prevent fungal issues like black spot. Once winter sets in, surround the base of the roses with mulch (6-8 inches deep) to insulate them. If growing Hybrid Tea, Grandiflora, or Floribunda roses in cold zones, use additional protection by creating a wire cylinder filled with dry leaves or straw.
For more gardening tips, consider practices like regular pruning and soil care to ensure your plants remain healthy year-round. In early spring, begin removing winter protection and gradually introduce fertilizing. For transplanting, aim for September to mid-October, and always stop deadheading at least a month before the first frost.
FAQs
When Is The Best Time To Mulch Roses For Winter?
The best time to mulch roses is after the first hard frost, but before the ground has frozen completely. This ensures that the mulch traps cool air while insulating the roots.
How Thick Should The Mulch Layer Be?
A 2-4 inch layer of mulch is ideal around the base of the rose, with an additional 6-12 inches mounded up in colder climates for extra insulation.
Can I Use Leaves From My Yard To Mulch Roses?
Yes, shredded leaves are an excellent option for winter mulch. Be sure to shred them, as whole leaves tend to mat down and block air circulation.
What Are The Best Organic Materials For Mulching Roses?
Straw, shredded leaves, pine needles, and compost are among the best organic materials. Each offers insulation, soil enrichment, and moisture retention.
Is It Necessary To Remove The Mulch In Spring?
Yes, gradually removing the mulch as temperatures warm up helps prevent fungal diseases and allows roses to grow freely without being restricted by heavy mulch.
Final Words
Mulching roses for winter is one of the most important steps you can take to ensure their survival and future growth. By using the right materials, timing your application correctly, and adjusting based on your region’s climate, you’ll give your roses the best chance to thrive year after year.
Start preparing for winter today and watch your roses bloom beautifully next spring. Experiment with different mulching techniques, and don’t hesitate to share your own tips for rose care!
Jump to
Why Mulching Roses In Winter Is Important
Best Materials To Use For Mulching Roses In Winter
Step-by-Step Guide To Mulching Roses For Winter
Common Mulching Mistakes To Avoid
How To Adjust Mulching Based On Region
DIY Mulch - How To Create Your Own Organic Mulch
How To Remove Winter Mulch In Spring
Simple Fall And Winter Care For Your Roses
FAQs
Final Words
Latest Articles
Popular Articles

